Before we had the baby, I had laid out our decision making process & plans for installing new hardwood floors. It’s been just over 5 months since my last update (https://loveandelbowgrease.com/2016/01/10/new-flooring-project-commence/) and I can happily say we have new floors! The upstairs flooring was completed (“Phase 1” as Mike would call it) ~ January 24th, so just in the nick of time (baby was born on the 31st)! Mike ripped the flooring up in what is now our bedroom first and we hit a snafu- getting the debris out of the house. It’s an old house, with small doorways and hallways and a deceivingly long distance to maneuver through to get big piles of splintery wood outside. We quickly decided the easiest and quickest way was out the window into the backyard, so the two of us had a nice little assembly line going (even with me being 9 months prego!) and actually got through the massive piles quite quickly.

the dogs had a field day with their new toy pile
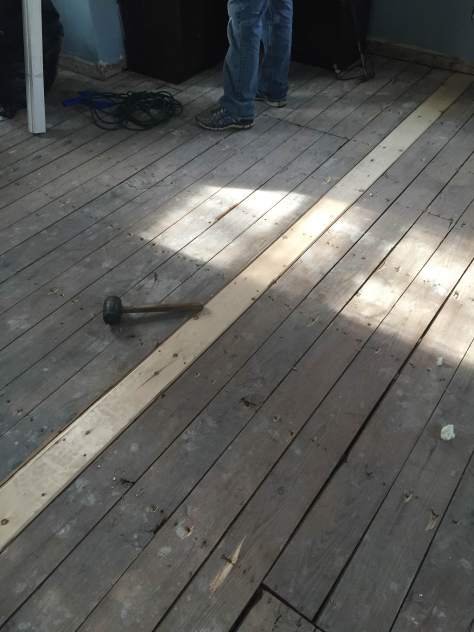
After demo, there was a lot of shop-vacuuming to be done to prep the subfloors so he could make the necessary repairs and lay the felt paper. First, he had to replace one board that had been displaced & broken when we installed a new beam in the ceiling below. He also nailed the subfloor boards down in additional places in an attempt to make the floors less creaky. (spoiler alert- a few months later I can assure you it did not work).

on our way to restoring flat floors!
As I was typing this post, I asked him what the felt paper does, to which he responded with a blank stare followed by a pensive, “I don’t know,” and a minute later assured me that it’s to provide a vapor barrier. A quick google search brought me to a forum (http://www.greenbuildingadvisor.com/community/forum/green-products-and-materials/15913/were-getting-hardwood-floors-installed-they-want-) where I found the following information:
“Neither 15# felt nor red rosin paper are vapor barriers. Their purpose is NOT to keep subfloor moisture from the flooring. The purpose of these membranes is to control dust penetration (more important when subfloors were boards rather than plywood), to create a slip plane to allow for differential expansion, and to cushion the interface to minimize squeaks. A membrane should always be installed between subflooring and a nail-down wooden finish floor.”
Thanks for the information, Riversong from the greenbuildingadvisor.com forums!

Taking a sneak peak- floors laid out over 15# felt paper

another “in-progress” view
Once the prep work was done, he was able to spend a few weeknights laying the floors in about half of the one bedroom. That weekend he had the help of our dear friend Matt, and they made quick work of getting the floors laid and the other room demoed. They had some hiccups laying the floor in the hallway and lining it up between the rooms, but overall they made a quick and easy job of it.
Main takeaways:
- Doorways/closets are difficult. Mike says that laying the floor was super quick outside of these areas.
- Keeping things in line through doorways/hallways and into other rooms is difficult. They were able to come up with some work arounds and line everything up nicely, but it was touch & go for a few hours trying to merge the hallway and the 2nd bedroom.
- It pays to have helpful, intelligent and overall amazing friends. This we seem to learn over and over again. Thanks, Matt!!!
- If you’re not replacing the sub floor, make sure you’re REALLY thorough in nailing down the existing surface. Unless you want to be quietly making your way out of your itty bitty baby’s room and trying to avoid 75% of the floorboards because they creak.
Phase 2 (the first floor) was completed when I got the little guy out of the house for a long weekend to visit my family. I use the term “completed” loosely- there is a section of our first floor bedroom/office that is still not done, as well as our entire staircase, because DIY = steep learning curve = not ordering enough materials. I’ll get into that eventually in a future “blooper reel” post. Mike is finally (2+ months later) picking up the supplementary flooring this week and will hopefully be able to finish up by the end of the month. Until then, you can look at this picture and pretend like you don’t know that the whole house isn’t quite done.

ta-da!!!
Will post an update when the staircase is complete! We are also updating the railing and balusters to be a little more our style, which I’m super excited for. There’s always something on the to-do list here 🙂